
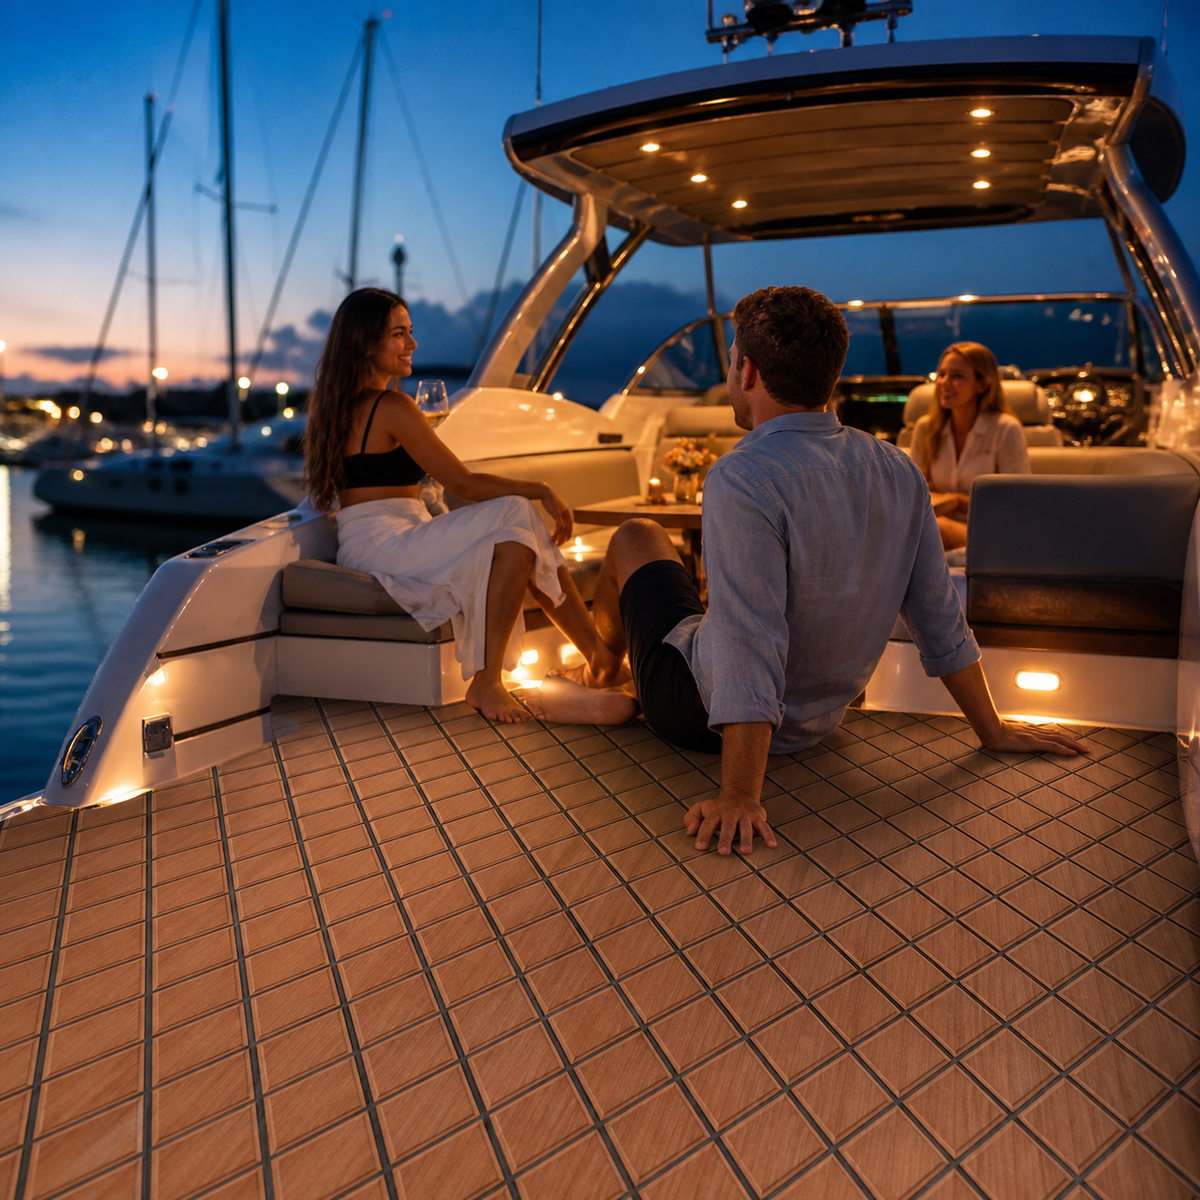
An express cruiser cockpit is part helm station, part boarding route, part outdoor dining room, and part passage to the cabin. Flooring has to fit around seating bases, wet bars, engine access, steps, drains, and the transition to the swim platform without making any of those features harder to use. That is why choosing boat flooring for express cruiser cockpits begins with the layout and the way you cruise—not with color alone.
This buyer’s guide explains how to compare options without assuming one material suits every vessel. Use it to build a project brief, inspect the existing deck, and ask better questions before ordering. Always verify current product information, compatibility, preparation, installation, and care instructions for the exact option under consideration.
Start with the cockpit’s real jobs
Walk through a normal day aboard before measuring anything. Note where people board, where they stand while docking, how the helm seat moves, where bags and coolers land, and how guests circulate between the companionway and stern. An express cruiser can feel spacious at rest but develop tight pivot points once the table is raised, seating is occupied, and the transom door is open.
Divide the cockpit into functional zones:
- Helm: the floor around the driver’s seat, footrest, controls, and companion seat.
- Social area: seating, table, wet bar, and the open floor used when people gather.
- Cabin transition: steps, companionway door, tracks, handholds, and changes in deck height.
- Stern route: the transom gate, swim-platform access, and the path used for lines or shore power.
- Service access: engine hatches, lockers, drains, inspection plates, and removable hardware.
A useful flooring plan makes these zones easier to read while preserving their operation. It should not disguise a level change, cross a moving hatch, or cover something that needs routine inspection.
Inspect the deck before comparing finishes
Remove loose gear and examine the uncovered deck in daylight. Look for cracks, soft areas, loose coatings, old adhesive, corrosion, uneven repairs, moisture that remains in corners, and damaged hatch seals. Flooring is a finish layer, not a repair for an unknown substrate. If the deck condition is uncertain, pause and consult an appropriate marine professional.
Record the substrate and any existing coating. Photograph the cockpit from above, then take close views of edges, drains, steps, seat bases, and hardware. Ask the flooring supplier which surfaces are compatible with the specific option and what preparation is required. Do not assume guidance for one surface or backing applies to another.
Measure access before open floor area
Owners often begin with the largest visible rectangle, but access points create the real constraints. Open every engine hatch and locker. Slide the helm seat through its full range. Operate the companionway door, transom gate, table mount, and any folding backrests. Mark hinge sweeps, latches, gutters, gas struts, removable fasteners, and the space needed to lift a panel.
Keep each moving hatch or cover as an independent template unless verified instructions say otherwise. A flooring seam should follow the access boundary cleanly rather than bridge it. Leave drains, scuppers, door tracks, labels, and service hardware unobstructed. The dry fit is incomplete until every moving part works with all templates in place.
Compare materials by behavior, not slogans
Instead of asking which material is “best,” compare how each candidate behaves in your cockpit. Consider the following questions:
- Does the exact material suit the verified substrate and the cockpit’s exposure?
- Can it be templated around curved furniture, steps, hatches, and narrow side passages?
- How does its surface feel under the footwear normally used aboard?
- What cleaning products and tools does the supplier permit?
- How will seams, edges, and pattern direction look beside the upholstery and cabinetry?
- Can individual service panels remain removable?
- What current product documentation and terms apply to the exact choice?
EVA foam boat flooring is one category owners may compare for a cockpit project. Other vessels may already use molded texture, carpet, vinyl, or another marine surface. Each choice brings a different feel, maintenance routine, installation method, and visual effect. Evaluate the actual material in the actual layout rather than relying on a universal claim.
Plan pattern direction for a complex cockpit
Express cruiser interiors contain many visual lines: cabin doors, seat bases, counters, hatch edges, and the vessel centerline. Flooring can organize that complexity when the pattern follows a clear reference. A fore-and-aft direction often connects the swim platform to the helm, while a border or deliberate panel break can identify the cabin step or social area.
Use paper arrows or removable tape to preview the direction from several viewpoints. Check it while standing on the dock, entering from the swim platform, sitting at the helm, and looking up from the cabin. Do not assume port and starboard are mirror images; molded furniture and equipment can introduce meaningful differences.
Compare color beside the real gelcoat, upholstery, cabinetry, and metalwork in both sun and shade. A screen preview can shift color, and the same surface may look different under the hardtop at midday and cockpit lighting after sunset. Base the final choice on current, option-specific representations.
Give boarding and transition zones extra attention
The stern gate, swim-platform step, cabin threshold, and helm step concentrate movement. They also collect water, sand, sunscreen, and dock dirt. Make height changes obvious and keep handholds available. Avoid placing a small filler piece where feet repeatedly turn when a cleaner panel boundary is possible.
Texture does not eliminate slip risk. Water, contaminants, footwear, wear, and maintenance all affect traction. Preserve drainage, clean residue promptly, and move carefully around steps and thresholds. Any comparison should treat traction as one part of a broader operating routine, not as a guarantee.
Build a full-size template and a panel map
A full-size template captures curves and relationships that a dimension list can miss. Establish a verified centerline or another stable boat reference. Work in manageable sections and label each one with bow, stern, port, starboard, neighboring panel numbers, and intended pattern direction.
Add every hatch, drain, table mount, seat base, door track, and hardware cutout. Mark “no cover” areas clearly. Reinstall removable furniture and equipment during the dry fit so the final map represents the cockpit in use, not an empty shell.
Photograph the completed dry fit from the dock, helm, cabin doorway, and stern. These images become a proof set for checking alignment and explaining the project to a supplier. If dimensions or substrate details are uncertain, resolve them before transferring the template.
Evaluate the care routine before buying
A cruiser cockpit may see food and drink spills, sunscreen, shore dust, salt residue, leaf litter, and water carried aboard after swimming. Ask for current care guidance for the exact flooring option. Confirm which cleaners, brushes, and rinse methods are suitable, and which should be avoided.
Look closely at grooves, seams, edges, and corners around furniture. Consider whether they can be reached with the time and tools you normally have after a trip. A beautiful material that does not fit your realistic cleaning routine may be a poor choice for the vessel.
Use a buyer’s scorecard
Before choosing, score each option against the same project evidence:
- verified substrate compatibility;
- fit around hatches, steps, doors, drains, and furniture;
- pattern alignment across neighboring panels;
- clear treatment of boarding and cabin transitions;
- access to service points and removable equipment;
- appearance in daytime and evening cockpit light;
- documented preparation, installation, and care requirements;
- a maintenance routine you are prepared to follow.
Reject an option if a critical answer depends on a guess. A consistent scorecard keeps an attractive image or vague claim from outweighing the boat’s actual requirements.
Practical takeaway: create a boarding-to-helm proof pack
Make one compact project pack before contacting a supplier. Include a labeled cockpit overview, verified substrate notes, the full-size panel map, close photos of every access point, and a continuous set of images following the route from swim platform to helm and cabin. Add pattern arrows and mark every location that must remain clear.
Focean can be one option in your comparison. Contact Focean with the boarding-to-helm proof pack to discuss current choices for the specific project, and confirm the applicable product information and terms before deciding.
Frequently asked questions
Should cockpit flooring continue onto the swim platform?
Do not assume one layout or material suits both areas. The cockpit and swim platform can have different exposure, geometry, drainage, boarding traffic, and substrate conditions. Evaluate and template each area separately, then confirm current compatibility and installation guidance for the exact option.
Can one large sheet cover the engine hatch?
Preserve the hatch as a separately operable service panel. The flooring layout should follow its verified boundary without obstructing hinges, gutters, latches, fasteners, or lifting clearance. Test full movement during the dry fit.
How should I choose a cockpit color?
Compare the current material representation beside the boat’s gelcoat, upholstery, cabinetry, and hardware. Review it in open sun, hardtop shade, and evening cockpit light. Also consider how visible everyday dirt will be within your normal care routine.
What should I send when asking about options?
Send the exact boat details, clean deck photos, verified substrate information, labeled templates or dimensions, and close views of hatches, drains, steps, doors, and hardware. Ask for information that applies to the specific option being considered.
Ready to compare cockpit flooring? Build the boarding-to-helm proof pack, complete the dry fit, and contact Focean with verified project details when you are ready to discuss current options.
Share:
Custom Boat Flooring for Cuddy Cabin Cockpits: A Layout Guide
How to Clean Boat Flooring in a Motor Cruiser Cockpit