
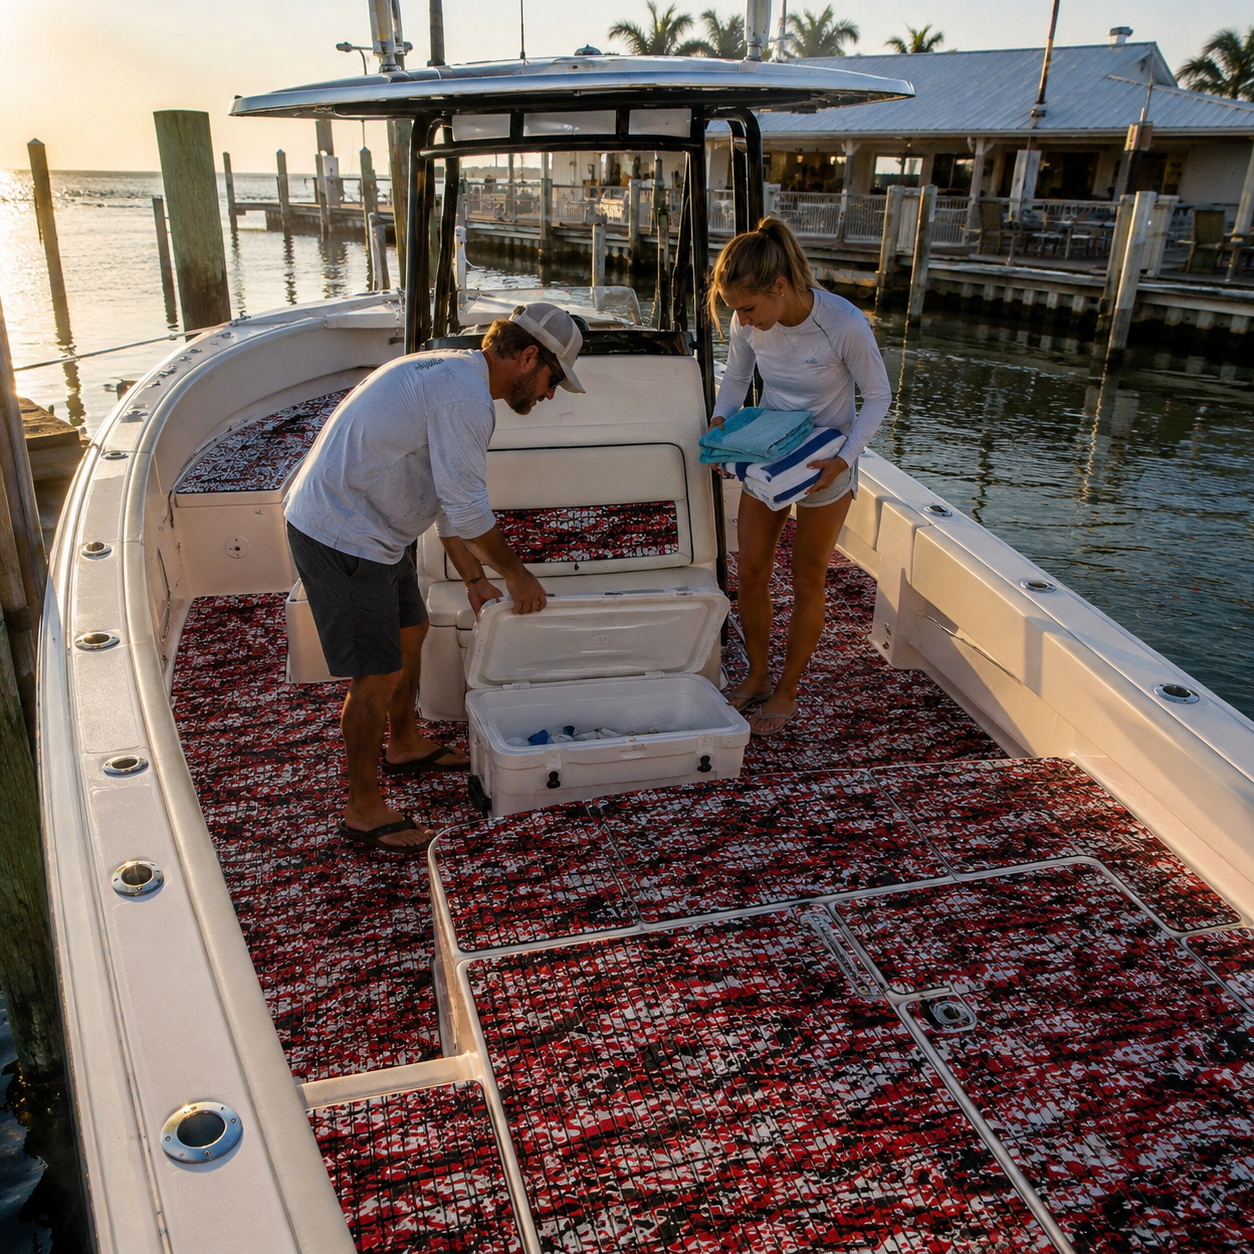
A worn or damaged area of boat flooring does not always mean the entire deck needs to be replaced. On a center-console cockpit, the real challenge is deciding whether one panel can be renewed without creating a poor seam, hiding a service point, or interfering with a hatch, cooler, seat base, or other movable gear.
This guide explains how to plan a partial replacement for sheet-material boat flooring. It focuses on inspection, boundaries, templates, pattern alignment, dry fitting, and final access checks. It does not assume that every material can be removed or bonded in the same way. The instructions for the exact flooring, backing, deck surface, and boat must control the work.
Decide whether a partial replacement is the right scope
Begin by separating a local surface problem from a larger deck problem. Photograph the affected area in dry, even light. Mark lifting edges, cuts, compressed areas, stains, missing sections, loose hardware, and any moisture that appears near a seam or fitting. Then inspect the surrounding deck and, where safely accessible, the structure beneath it.
A partial panel may be a reasonable project when the underlying surface is sound, the affected area has a clear functional boundary, and the remaining flooring can stay in place without blocking inspection or preparation. Stop and seek qualified help if the deck feels soft, moves underfoot, shows cracking or unexplained moisture, or involves fuel, electrical, steering, structural, or other marine systems. New flooring is a finish layer, not a repair for an unknown deck condition.
Identify the exact existing system before removing anything
Do not treat every foam sheet, backing, coating, or old adhesive as interchangeable. Record the current flooring name if known, its pattern direction, color, surface texture, panel thickness, edge treatment, and how it meets the deck. Look for installation records, leftover material, labeled packaging, or seller instructions. If none are available, note the uncertainty rather than guessing.
Also identify the deck surface beneath the panel. Painted aluminum, molded fiberglass, coated wood, and repaired areas can require different preparation and removal methods. Confirm the applicable instructions before choosing a cleaner, tool, heat source, solvent, adhesive, or disposal method. Test only where the relevant guidance permits it.
Map the hatch-and-gear zone as a working system
A replacement boundary should follow how the cockpit works, not merely the visible damage. Open every nearby hatch. Move ordinary gear through the area. Check cooler tie-downs, removable seats, deck plates, drains, latches, hinges, inspection ports, and fasteners. Photograph each item both closed and in use.
On a center-console boat, one apparent floor area may contain several distinct functions:
- the walking route from the stern to the helm;
- a cooler or portable-gear footprint;
- separate hatch lids and their surrounding gutters;
- seat or leaning-post bases;
- drainage and washdown paths; and
- service access that must remain visible.
Draw these on a simple top-down map. A natural panel boundary may follow a hatch frame, existing seam, molded step, console edge, or other stable break. Avoid creating a tiny patch in the middle of a busy standing route when a larger, cleaner functional panel would be more practical.
Remove portable gear before setting the boundary
Clear coolers, tackle boxes, bags, loose seating, dock lines, and other portable items. Mark their usual locations on the map before moving them. This exposes compressed or hidden areas and prevents a gear footprint from becoming an accidental template edge.
Do not casually remove fixed hardware to simplify the shape. A seat base, console support, deck fitting, or access cover may have sealing, structural, or service requirements. If qualified removal is appropriate, label every component and fastener, document its orientation, and follow the boat builder's procedure. Otherwise, plan the new panel around it with a clear inspection gap.
Treat each hatch lid and frame separately
A hatch is a moving assembly, not a decorative outline. Record the lid, frame, hinge side, latch, finger pull, gutter, fasteners, and full opening path. If flooring belongs on the lid, template the lid as its own panel. Never bridge the gap between a lid and the fixed deck.
Place temporary template material on the lid and operate it through its full travel. Confirm that the proposed edge does not rub the frame, cover a latch, narrow a drainage channel, or hide hardware. Repeat the check with neighboring hatches open at the same time. Two panels can fit individually yet collide during normal use.
Build reference marks that survive the repair
Before any removal, create reference points outside the work area. Use the boat's stable geometry rather than relying only on an old panel edge that may be stretched, damaged, or misaligned. Record the bow direction, a fore-and-aft reference, cross measurements, panel numbers, and the relationship between the replacement and neighboring seams.
Take a straight-on photograph with a ruler or another known reference laid beside the area, without claiming that the photo alone is a cutting template. If the pattern has stripes, grooves, or a directional design, mark that direction on both the deck map and every template. A patch can fit its opening and still look wrong if its surface direction drifts from the surrounding field.
Create a full-size replacement template
Use template material that lies flat and does not stretch. Trace the intended boundary, then mark every hatch, fitting, seam, drain, and hardware clearance. Add the panel code, top face, bow arrow, neighboring-panel labels, and a check dimension. If the existing piece is removed under the correct procedure and remains dimensionally stable, it may provide useful information, but compare it with the actual deck instead of copying it blindly.
Trim the template conservatively and return it to the boat several times. It should rest naturally without buckling, pulling around corners, or covering an access point. Review the shape from standing height and from the normal boarding direction. Confirm that a larger replacement boundary has not created an unnecessary narrow strip elsewhere.
For a broader full-deck method, use Focean's center-console flooring installation plan to coordinate fixed reference lines, a numbered panel map, and a complete dry fit.
Compare the replacement with the remaining deck
A partial repair makes old and new material meet directly. Compare the exact replacement sheet with the installed surface in the light where the boat is normally used. Look at color, pattern scale, groove direction, surface finish, edge shape, and the way neighboring panels meet. Do not promise that a new sheet will visually match an aged deck based on a small screen image.
Decide whether the goal is a close continuation or an intentional zone boundary. An honest, clearly placed transition can be more coherent than a near-match that changes direction at an arbitrary point. Keep that choice visual; do not turn appearance into an unsupported performance claim.
Plan removal and surface preparation as separate gates
Removal can affect the deck surface, nearby seams, coatings, and hardware. Follow current instructions for the exact existing system and substrate. Protect drains and compartments from debris. Provide appropriate ventilation and personal protection for the products and tools involved. If removal begins to lift a coating, expose a repair, or reveal moisture, pause and reassess the scope.
After removal, inspect the uncovered deck before preparing it. Record residue, corrosion, coating damage, fastener movement, and uneven repairs. Use only preparation methods confirmed for the deck and replacement system. A surface that looks clean may still contain wax, oil, incompatible cleaner, or old adhesive. Do not proceed until the applicable instructions say the surface condition and environment are suitable.
Dry-fit the replacement with real gear in place
Place the cut panel with its release liner or protective backing intact. Align it to the external reference marks, not just the nearest old edge. Check the seam from several viewpoints. Open every hatch, turn each latch, inspect the drain route, and confirm access to deck plates and fasteners.
Then return the cooler, removable seat, or ordinary gear to its marked position. Make sure a panel edge does not land under a repeated pivot point or disappear beneath equipment that must be moved for inspection. Walk the normal route without treating the dry fit as proof of traction or safety. The check is for geometry, access, and movement.
Install only after the complete zone passes
Rehearse the placement order before exposing any adhesive. Preserve an exit route and the strongest reference line. If the exact instructions permit staged liner removal, expose only a manageable section, establish alignment, and continue without stretching the sheet. Do not invent pressure, temperature, or setting-time requirements.
After the specified setting process, repeat the full functional check. Inspect the perimeter, seam, corners, hatch borders, hardware clearances, and gear footprints. Open every moving part and confirm that no drain, fastener, label, inspection point, or service opening has been covered. Save the final template, panel code, material record, and photographs for future maintenance.
Use cleaning to monitor the repaired boundary
Routine cleaning creates a good opportunity to inspect the new-to-old transition. Look for residue collecting at the seam, movement near a hatch, concealed water paths, or gear rubbing repeatedly at one edge. Follow the exact care guidance for both the new panel and the remaining flooring.
Focean's center-console post-trip cleaning guide provides a zone-based inspection routine for console bases, gear footprints, hatches, drains, and deck edges.
FAQ
Can I replace only a damaged hatch-lid panel?
Possibly, if the lid, frame, hinge, latch, drainage channel, substrate, and surrounding material are sound and the exact replacement system supports the plan. Template the lid independently and test its full movement before placement.
Should the replacement seam follow the damaged area?
Not automatically. The useful boundary usually follows a stable functional or visual break while preserving traffic, hatch movement, drainage, and service access. A slightly larger planned panel may be cleaner than a small irregular patch.
What if the new material does not match the old deck?
Compare full-size material in relevant light before cutting. If a close continuation is not realistic, consider an intentional zone boundary and confirm all exact-product requirements. Do not rely on a small online image as proof of a match.
Practical takeaway
A successful partial boat-flooring replacement starts with scope control. Inspect the deck, identify the existing system, map hatches and gear, choose a stable boundary, build a full-size directional template, and dry-fit the complete working zone. The new panel should preserve access and function before it improves appearance.
Review Focean's current boat-flooring collection for exact-item information, then contact Focean with clear deck photographs, measurements, substrate details, and your proposed panel map to ask which current information applies to the project.
Share:
How to Clean Sailboat Cockpit Flooring After a Day Sail