
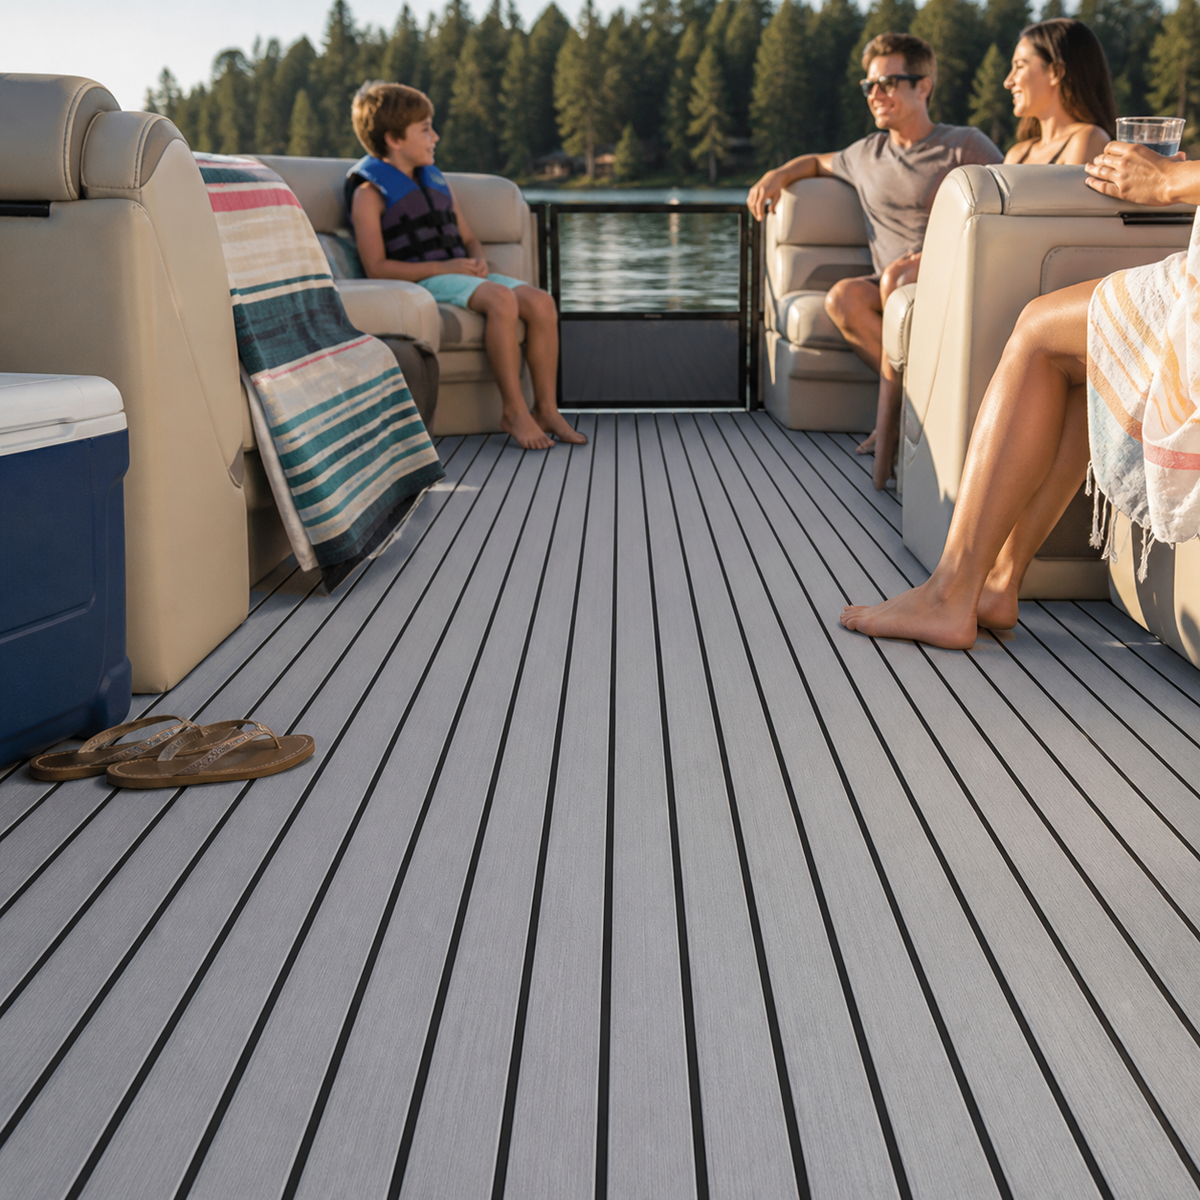
Pontoon flooring sees more than one kind of weather. A sunny family outing can leave warm, exposed walkways; a passing shower can move water through gates and around furniture bases; a covered week at the dock can create slow-drying corners that deserve inspection. The useful question is not whether one sheet material can “beat” every condition. It is how to plan a flooring layout that keeps the deck readable, accessible, and practical as conditions change.
This guide gives pontoon owners a weather-focused planning method before they choose, cut, or place sheet flooring. It does not replace the instructions for a specific product or the requirements of the deck beneath it.
Start with a weather map of the pontoon
Take photographs after several ordinary situations: a dry afternoon, a wet return to the dock, and a period under the boat cover. Mark where water enters, where shoes first touch the deck, where towels or coolers sit, and where shade changes during the day. A single clean showroom photograph cannot reveal those patterns.
Divide the pontoon into zones rather than treating it as one rectangle:
- bow and side gates, where boarding traffic brings water and grit aboard;
- the helm, where feet remain in one position and hardware limits panel shapes;
- the center aisle, which carries most movement between seating areas;
- lounge and table areas, where furniture bases interrupt drying and inspection;
- the stern and swim-access route, where wet traffic may be concentrated; and
- hatches, drains, and service points that must remain functional.
This map becomes the basis for every later choice: panel boundaries, pattern direction, cleaning access, and the questions you ask about an exact sheet.
Plan for sun without making assumptions about performance
Open pontoon decks can have strong differences between exposed and shaded areas. Record which zones receive direct sun and for how long during the way you actually use and store the boat. Then compare candidate colors and surfaces outdoors beside the upholstery, rails, and existing deck. A small indoor photo can hide glare, contrast, and pattern scale.
Do not assume that a color name or marketing phrase proves how a particular sheet will behave over time. Ask for current documentation that applies to the exact item you are considering, including its intended environment, care instructions, storage guidance, and any limitations. If that information is not available, treat long-term appearance as an open question rather than a promise.
Pattern direction also matters visually. Long lines can organize the center aisle, but the same direction may look awkward around curved lounge bases or angled gates. Use paper strips or a digital overlay on a full-deck photograph to judge the whole layout before measuring quantity.
Trace rain and rinse water through the deck
Watch how water moves instead of assuming it travels straight to a drain. It may enter at a gate, collect beside a seat base, follow a deck slope, or pause at a threshold. Photograph those routes before covering any surface details.
A flooring plan should leave drains visible and serviceable. It should also keep panel edges out of obvious water-holding pockets when the geometry allows. This does not mean the flooring controls drainage; the underlying deck and boat design still do that work. The layout should respect those systems rather than hide them.
During a dry fit, place temporary paper or template panels in position and repeat the movement of boarding, rinsing, and opening gates. Check whether an edge crosses a wet landing area or whether a panel makes a drain harder to inspect. Correcting a template is much easier than correcting a placed sheet.
Treat the boat cover as part of the flooring environment
A cover changes airflow, shade, and access. Before planning panels, inspect the deck after the boat has been covered through normal local conditions. Look beneath movable cushions, around table bases, beside consoles, and near the stern. Note any area that remains damp longer than the open aisle.
The practical response is not to make a universal claim about covered storage. It is to keep those areas reachable for cleaning and inspection. Avoid layouts that bury fasteners, block removable furniture, or turn a small service opening into a difficult multi-panel disassembly. Follow the boat, cover, and exact-flooring instructions for ventilation and storage.
Keep gates, furniture, and access points independent
Pontoons often have many boundaries in a compact plan. Gate swings, seat bases, table pedestals, console edges, floor hatches, and removable accessories all deserve their own template references. Do not copy a curve from the opposite side unless measurements confirm the two sides are truly the same.
Mark every template with the boat side, zone name, forward direction, and neighboring piece. Around a gate, test the complete swing and latch clearance. Around furniture, confirm whether a base is fixed, removable, or part of a service route. Around a hatch, preserve the opening path and finger clearance specified by the boat design.
For another way to divide the deck by real movement and standing areas, the related pontoon flooring guide for busy decks explains how to study gates, the helm, lounge areas, and swim access as separate zones.
Use panel boundaries to support inspection
Fewer seams may look simple on paper, but one oversized panel can be difficult to position around furniture and access points. Many small pieces can create a busy layout with more edges to monitor. The useful balance depends on the exact pontoon geometry.
Place proposed boundaries on the deck map. Favor locations that are easy to see, reach, clean, and compare during routine checks. Avoid putting a boundary directly where people pivot through a gate or repeatedly slide gear, when another practical location is available. Verify the minimum gaps, edge treatment, and placement process in the exact product instructions.
Compare surfaces with the same weather questions
Use one scorecard for every candidate instead of giving each material a different test. Ask:
- What current documentation applies to outdoor exposure and storage?
- How does the surface feel under the footwear used on this boat, both dry and wet?
- Can grooves and edges be reached with the approved cleaning method?
- Can drains, hatches, fasteners, and furniture remain accessible?
- What substrate preparation and placement conditions are required?
- How should the installed surface be inspected after weather changes?
Texture can be useful, but no texture removes the need to manage water, contaminants, wear, footwear, and careful movement. Compare exact products under controlled, realistic conditions and follow their documentation.
If you are still deciding between broad surface formats, the pontoon EVA foam and marine carpet comparison provides a separate zone-by-zone framework.
Build a seasonal inspection routine before installation
A good plan includes what happens after the project. Create a short checklist for the start of the boating season, after unusual weather, and before longer covered storage. Inspect visible edges, transitions, drainage points, hatch movement, furniture boundaries, and areas where gear stays in place.
Record changes with photographs from the same angles. If an edge, substrate, or fitting appears different, pause and consult the applicable boat or flooring guidance before making a repair. Repeated photographs are more useful than relying on memory.
A practical pontoon weather-planning worksheet
- Photograph the dry, wet, and covered deck.
- Label gates, wet entry routes, furniture bases, hatches, drains, and service points.
- Mark sun and shade by the times you normally use the boat.
- Choose tentative pattern directions and panel boundaries.
- Create full-size templates with side and forward-direction labels.
- Dry-fit the complete layout and operate every gate and hatch.
- Compare exact-product documentation with the same weather questions.
- Write a cleaning, inspection, and covered-storage checklist.
The result should be a deck brief you can review before ordering, not a collection of disconnected measurements.
FAQ
Should pontoon flooring cover the entire deck?
Not automatically. Decide zone by zone. A complete layout must still preserve gates, drains, hatches, fasteners, furniture access, and the requirements of the underlying deck.
Does textured flooring make a wet pontoon deck safe?
No surface makes footing risk-free. Water, residue, wear, footwear, movement, and maintenance all affect traction. Evaluate the exact surface and keep the deck clean and inspected.
Can I use the same template on both sides?
Only after measurements confirm the geometry is identical. Furniture, rails, gates, wiring, and manufacturing tolerances can make apparently mirrored areas different.
Practical takeaway
Changing weather is best handled as a layout and inspection problem: map sun, water, covered areas, traffic, furniture, and access before choosing a sheet. Keep claims tied to exact documentation, dry-fit the entire plan, and preserve every system the pontoon needs.
To discuss current Focean sheet options, contact Focean with clear deck photographs, your boat make, model, and year, a labeled zone map, and the exact questions you need answered before ordering.
Share:
Traction-Focused Boat Flooring for Skiff Work and Boarding Zones
How to Plan a Custom Pontoon Boat Flooring Layout Around Gates and Seating