
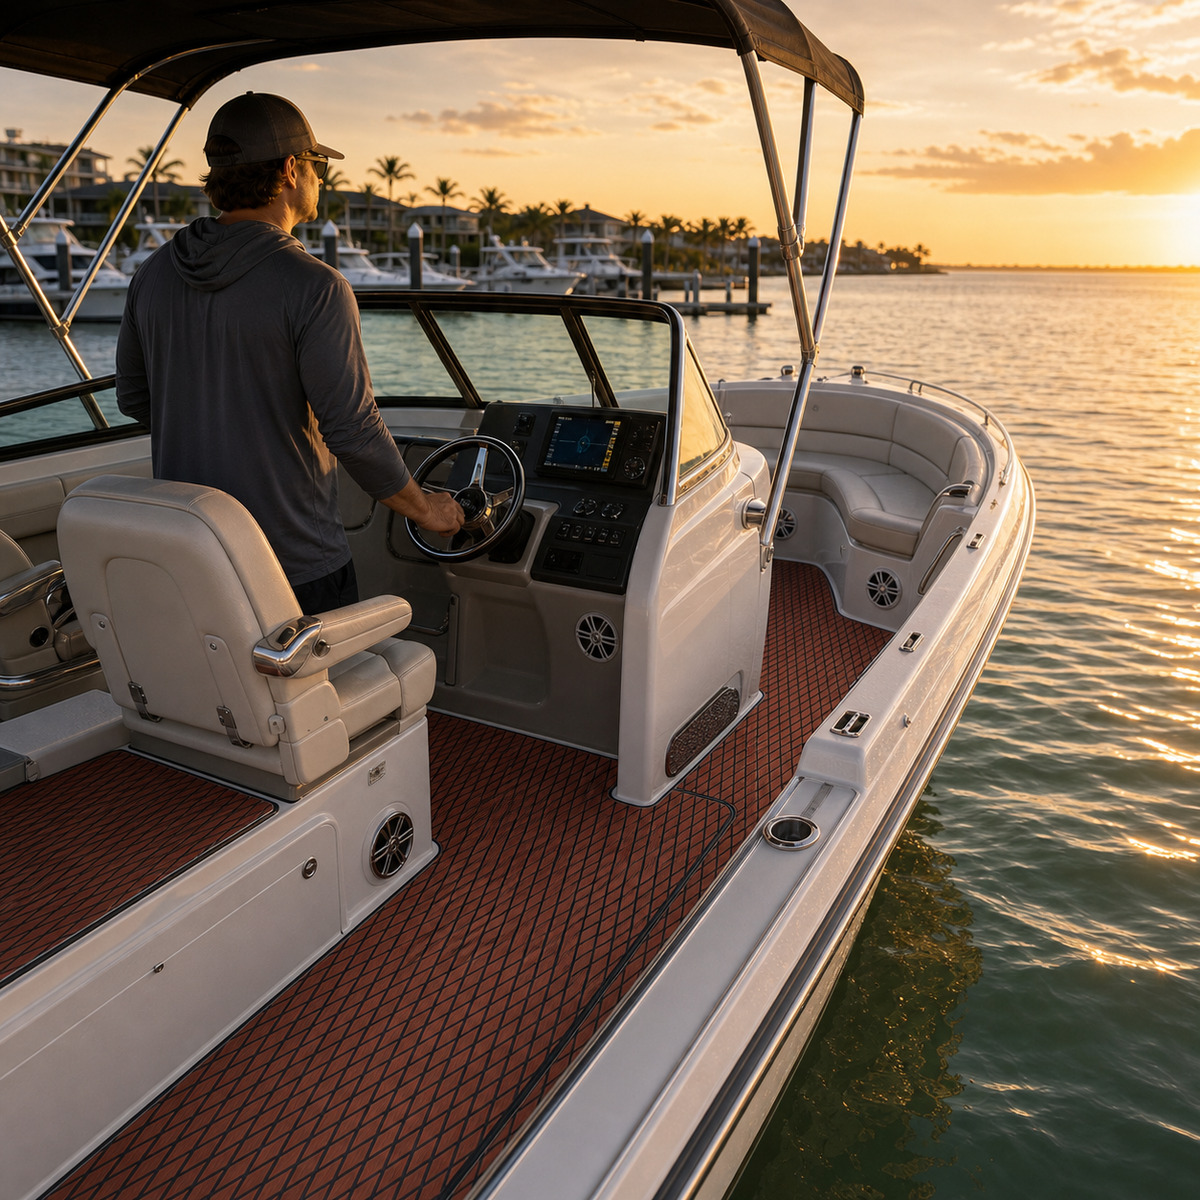
A runabout may look simple from the dock, but its deck is a collection of curves, seat bases, storage lids, helm hardware, drainage paths, and narrow transitions. That makes a flooring upgrade less like covering a rectangle and more like fitting a set of coordinated panels. A careful plan protects access to the boat’s systems and gives every piece a clear position before any backing is exposed.
This guide explains how to plan and install EVA foam boat flooring on a runabout without assuming that one method fits every hull, deck surface, or flooring product. Always follow the instructions supplied by the boat builder, flooring manufacturer, and adhesive supplier for the exact materials involved. If their directions differ from this general workflow, use the product-specific directions.
Start with the runabout’s actual deck layout
Walk through the boat from the bow seating area to the stern. Identify every surface you want to cover and every item that must remain accessible. Typical planning zones include the bow walkway, cockpit floor, helm and passenger footwells, storage lids, ski locker, steps, and boarding platform. Your boat may have fewer or additional zones.
Mark drains, hinges, latches, inspection ports, fasteners, seat pedestals, table sockets, fuel fittings, electrical access, and removable panels. Flooring must not hide a service point, obstruct drainage, interfere with a hatch, or make required hardware difficult to reach. If you cannot identify a fitting or access cover, consult the boat documentation or a qualified marine technician before covering the surrounding area.
Also note how people move through the boat. A runabout concentrates traffic at the bow opening, between the seats, around the helm, and near the stern entry. Panel boundaries should make sense within that movement pattern while respecting the flooring supplier’s layout requirements.
Confirm compatibility before making templates
Determine what the deck surface is made from and whether it has paint, molded texture, an existing coating, previous adhesive, sealant, repairs, or contamination. A surface that looks clean may still contain wax, polish, sunscreen, fuel residue, or cleaning products that affect bonding. Do not rely on appearance alone.
Check the flooring instructions for approved substrates, preparation methods, temperature and moisture conditions, edge treatment, and any limits on installation location. Confirm whether the product is intended for the horizontal, vertical, curved, or exposed areas you plan to cover. If the runabout has removable carpet or snap-in flooring, inspect what lies beneath it rather than treating the old material as a template without verification.
Before ordering or cutting, confirm the exact product dimensions, backing, color, texture direction, care requirements, and current terms for the selected SKU. A category label such as “EVA foam boat flooring” does not establish compatibility with a particular boat.
Make a template system you can audit
Templates turn an irregular deck into manageable pieces. Use a stable template material appropriate for the method recommended by the flooring supplier. Build one zone at a time and label each piece immediately. A useful label records the zone, orientation, adjacent panel, and visible texture direction.
Define fixed reference points
Choose reference features that will not move during the project, such as a molded edge, hatch frame, seat base, or centerline. Do not use loose gear or a removable cushion as the only reference. Mark bow, stern, port, and starboard orientation so a symmetrical-looking piece is not reversed later.
Trace obstacles and moving parts
Record the full sweep of hinges and latches, not just their closed position. Check that storage lids can open, removable panels can lift, and hardware can still be serviced. Leave only the clearances required by the exact product and boat instructions; guessing can create gaps that look awkward or edges that bind.
Plan the visual flow
If the flooring has a directional texture or pattern, draw direction arrows on every template. Decide where seams will fall and how lines should continue across neighboring panels. On a runabout, the bow walkway and cockpit centerline are useful places to check visual alignment, but the final layout must still respect hatches, drains, and safe access.
Perform a template-only review
Place every finished template in the boat at the same time. Walk through normal boarding and seating positions. Open each hatch, operate each latch, and verify that drains and service points remain clear. Photograph the complete layout and each labeled zone before moving to the flooring material.
Dry-fit the flooring before exposing adhesive
Transfer the approved templates according to the flooring supplier’s cutting directions. Use suitable tools on a protected work surface, and keep hands clear of cutting paths. When a cut or technique is unfamiliar, use a qualified installer rather than experimenting on the final material.
Return every cut piece to the boat with its backing intact. This is the dry fit. Check perimeter spacing, hatch movement, panel orientation, seam relationships, and the route from bow to stern. Look at the deck from several angles because a line that appears aligned from above may look uneven from the helm or boarding point.
Do not treat “close enough” as approval. A small template error can become more obvious after several panels are installed. Revise the template or piece according to the supplier’s directions, then repeat the full dry fit. Keep the pieces labeled and stacked in installation order so they cannot be mixed up.
Prepare the deck as a separate job
Surface preparation deserves its own session. Remove movable items only as permitted by the boat instructions. Clean away loose debris, then follow the approved procedure for removing wax, grease, old adhesive, sealant residue, or other contamination. Use only products compatible with the deck and flooring system, and allow the surface to reach the required condition before installation.
Inspect for cracks, soft areas, loose coatings, damaged gelcoat, moisture, or repairs that need attention. Flooring is not a substitute for structural or surface repair. Pause and obtain qualified guidance if the substrate is unstable or if the source of moisture is uncertain.
After preparation, protect the deck from new dust, footprints, overspray, and hand oils. Recheck the weather and work area against the product instructions. Good templates cannot compensate for an unsuitable installation environment.
Install in a controlled sequence
Lay the dry-fitted pieces nearby in order. Begin only when you can complete the current section without rushing. Follow the flooring supplier’s method for positioning, peeling the backing, applying pressure, handling curves, and treating seams and edges. Do not add an unapproved adhesive or heat source in an attempt to improve the bond.
Use reference marks to place each piece before it makes full contact. Work progressively so alignment can be monitored as the panel settles. Avoid stretching the material to force a fit; stretching can change the pattern, edge position, or relationship with adjacent panels.
After each panel, stop and inspect it before moving on. Confirm that no drain, fastener, latch, or access point has been covered. Open nearby hatches and verify that edges do not catch. Check directional lines from the bow opening and helm. Finding a problem early limits the number of panels affected.
Finish with an access-and-drainage inspection
Follow the specified post-installation waiting, pressure, and care instructions before using or washing the deck. Do not invent a curing schedule. Keep traffic, gear, water, and cleaners away for the period required by the exact flooring system.
When the installation is ready for inspection, repeat the original deck walk. Open every hatch, remove every service panel meant to remain removable, operate latches, and check all drains. Sit at the helm and passenger positions to confirm that the flooring does not interfere with pedals, seat movement, or access. Inspect seams, corners, transitions, and curved edges in good light.
Save the final template set, product information, photographs, and installation notes. Record which panel belongs to each zone and any area that required special handling. That file can help with future inspection, repair discussions, or replacement planning.
Common runabout installation mistakes to avoid
- Ordering before mapping the deck: measure and template the exact zones first, then confirm the selected product format.
- Covering service access: identify fittings, fasteners, drains, and removable panels before planning seams.
- Ignoring texture direction: label orientation on every template and review the full dry fit from several viewpoints.
- Using the old carpet as unquestioned proof: verify the underlying deck and current clearances independently.
- Preparing and installing at the same time: treat cleaning, repair review, dry fitting, and bonding as separate checkpoints.
- Forcing a piece into place: revise the template or seek qualified help instead of stretching or using an unapproved method.
Practical takeaway: use four hold points
Build your project around four moments when work stops for review: after the deck map, after the complete template layout, after the full dry fit, and after surface preparation. At each hold point, verify access, drainage, orientation, and product-specific instructions. Do not move forward until the current stage is clear.
If you are considering Focean flooring for a runabout, contact Focean with clear deck photographs, labeled template dimensions, the boat’s surface information, and the areas you want to cover. Ask the team to confirm the exact SKU’s current compatibility information and installation guidance before ordering.
Frequently asked questions
Can I install flooring over molded deck texture?
Only if the flooring instructions approve that exact substrate and preparation method. Texture depth, coatings, contamination, and surface condition can affect compatibility. Obtain product-specific guidance instead of assuming that all molded decks are equivalent.
Should one large piece cover the entire cockpit?
Not automatically. Hatches, drains, access panels, curves, product format, and the approved installation method determine a practical panel layout. A coordinated set of labeled panels may provide better access and fit than one oversized piece.
Can I use removable carpet as my template?
It can be a reference, but verify every edge and opening against the actual deck. Carpet can shift, stretch, shrink, or omit areas needed for a bonded flooring layout. Build and test a current template set before cutting the final material.
What should I do if a hatch catches after dry fitting?
Stop and correct the template or panel according to the flooring supplier’s instructions. Do not install the piece and hope the interference disappears. Recheck the hatch through its full movement before continuing.
Ready to plan your runabout deck? Map the access points, build a labeled template set, complete a full dry fit, and contact Focean to discuss exact-product compatibility and current installation guidance.
Share:
How to Clean Boat Flooring on a RIB: A Practical Care Guide
EVA Foam vs. Marine Carpet for Sailboat Cockpits: A Practical Guide